Step-by-Step Kitchen Remodel: How to Plan, Build, and Perfect Your Dream Kitchen
A kitchen remodel involves several key steps: careful planning, hiring the right professionals, and ensuring each stage, from demolition to final touches, is completed efficiently. With this comprehensive step-by-step guide, you can design a kitchen that’s not only functional but truly reflects your unique style.
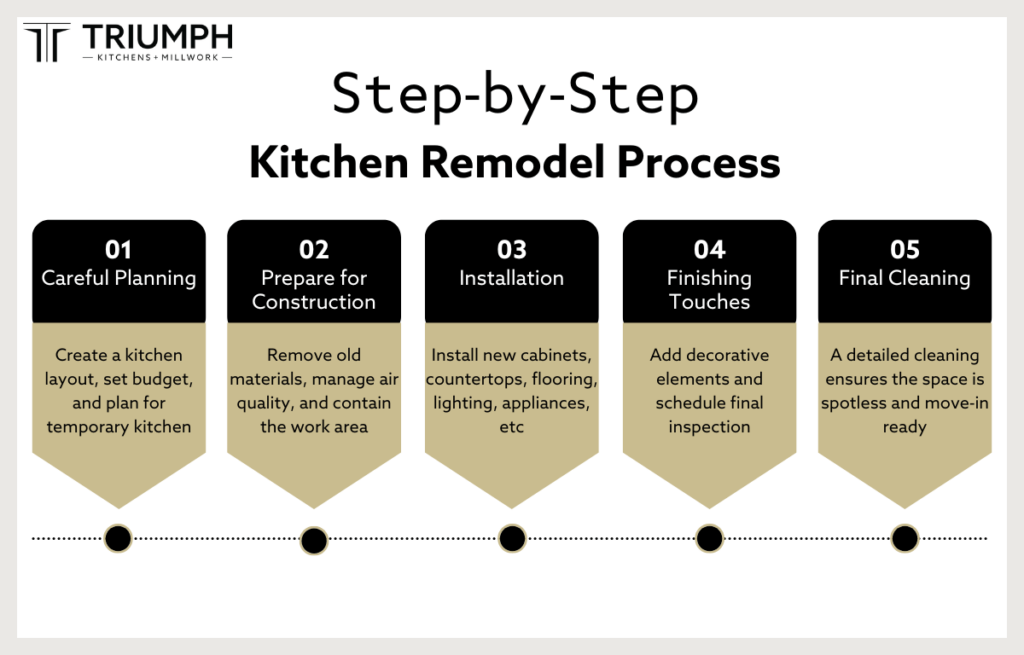
Step 1. Careful Planning for Your Kitchen Renovation
The first step in the remodeling process is assessing your needs and goals to bring your dream kitchen to life. This involves:
Working with a Kitchen Designer or Contractor
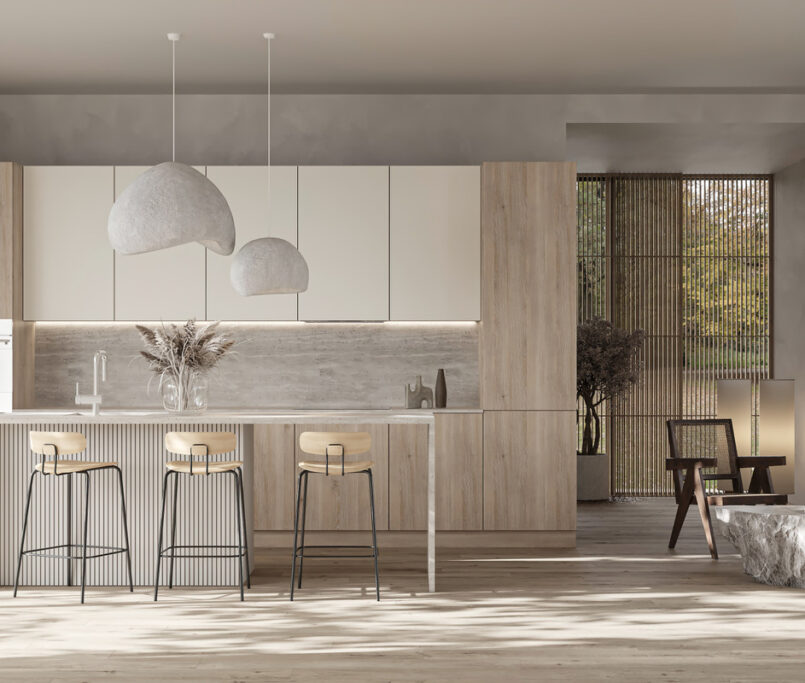
Work with a professional to create a functional layout that optimizes space and flow. Decide on the type of cabinets, countertops, and flooring you want to install.
- Custom Cabinets
- Traditional – Perfect for a classic, timeless look with details like panel doors and crown molding.
- Modern – Sleek, minimalist designs with clean lines and flat-panel doors.
- European-style – Frameless designs that offer a smooth, contemporary aesthetic.
- Countertops
- Granite – A durable material that adds a natural texture to your kitchen.
- Quartz – A low-maintenance option that is stain-resistant and durable.
- Butcher Block – A warm, inviting option perfect for creating a cozy and functional space.
- Flooring
- Solid Hardwood – A timeless choice known for its ability to be refinished over time.
- Engineered Hardwood – Combines the beauty of real wood with modern designs, and withstands the wear and tear of daily life.
- Tile – Ideal for homeowners looking to make a statement and set their home apart from others.
- Luxury Vinyl Plank (LVP) – Durable, water-resistant, and scratch-resistant properties that are best for high-traffic areas.
Kitchen designers work closely with you throughout the planning process to guide your selections and ensure every detail aligns with your vision.
Setting a Realistic Budget
Creating a clear and realistic budget is one of the most important steps. Divide your budget into categories, such as labor costs, materials (cabinets, countertops, flooring), appliances, and unexpected expenses.
Determine where you want to splurge, such as choosing custom frameless cabinets for a sleek look, and where to save, like opting for more affordable flooring for those high-traffic areas in your home.
Setting a well-planned budget isn’t just about controlling costs – it’s about ensuring an organized remodel with no financial surprises at the end.
Planning for a Temporary Kitchen
To minimize disruption to your daily life, set up a temporary kitchen space where you can prepare meals and maintain some normalcy during the remodel.
Step 2. Preparing for Construction
The next step is preparation and demolition – where your vision begins to take shape.
Removing Old Materials
Clear the space by removing old cabinets, countertops, appliances, and flooring. This creates a clean slate for your remodel and allows you to address hidden issues like water damage or outdated wiring.
Addressing Structural Changes
Structural updates – such as rewiring, plumbing adjustments, or removing walls – are often necessary during a home remodel. Ensure that electrical wiring and plumbing meet current safety standards to prevent costly issues down the road. Temporary poly walls can also be installed to contain the work area and enhance safety during this phase.
Managing Air Quality
Construction generates dust and debris that can affect your home’s air quality. Using an air scrubber and sealing vents off can help maintain air quality and minimize the impact on your home.
Choosing the Right Approach: Professional vs DIY Kitchen Remodel
When it comes to execution, you’ll need to decide between managing the remodel yourself (DIY) or hiring a general contractor.
A DIY approach may be best for smaller-scale projects – such as repainting walls or replacing cabinet hardware. For larger renovations, hiring a general contractor ensures the project is managed efficiently and to code.
Proper preparation ensures that the construction phase proceeds without delays or unexpected costs, ensuring a smooth transition from demolition to construction.
Step 3. Installing Key Components of Your New Kitchen
The installation phase is where your chosen materials and designs start to come to life.
Installing Kitchen Cabinets
Your new cabinets are installed to ensure they’re level, secure, and working properly. Whether you’ve selected traditional cabinets with intricate details, modern cabinets with clean lines, or sleek European-style cabinets, this step sets the foundation for your kitchen’s design and storage.
Placing Countertops and Flooring
Kitchen countertops are then measured and installed to perfection, and flooring is installed next to complement the overall design and meet durability needs.
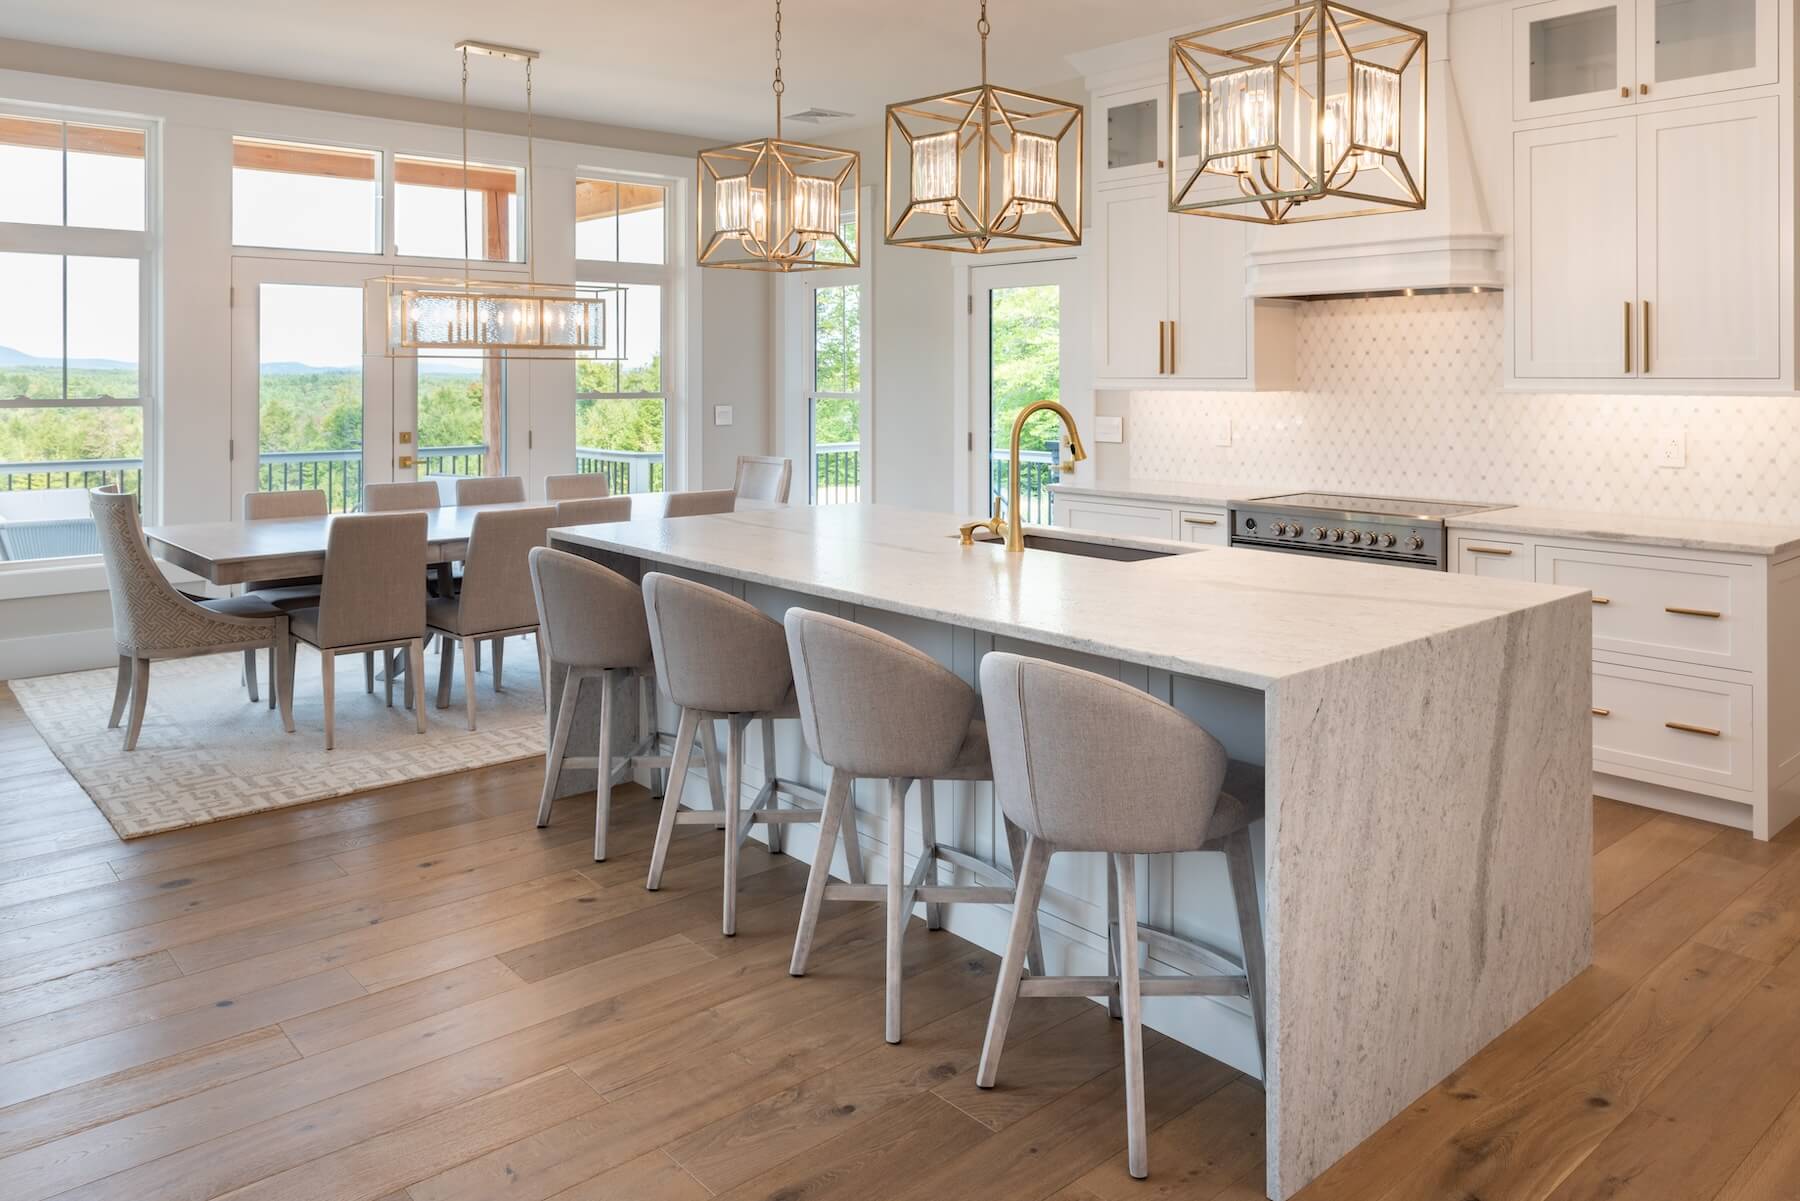
Adding Light Fixtures and Appliances
Lighting is installed to create a functional and inviting atmosphere, with overhead, under-cabinet, and accent lighting options to suit your needs. Kitchen appliances, from refrigerators and ice makers to ovens and dishwashers, are carefully placed to ensure seamless integration with the kitchen layout.
These final touches are all about precision and detail, ensuring that each component fits perfectly and aligns with your overall vision
Step 4. Adding Finishing Touches for a Polished Look
The final stage focuses on details that bring everything together and elevate the space.
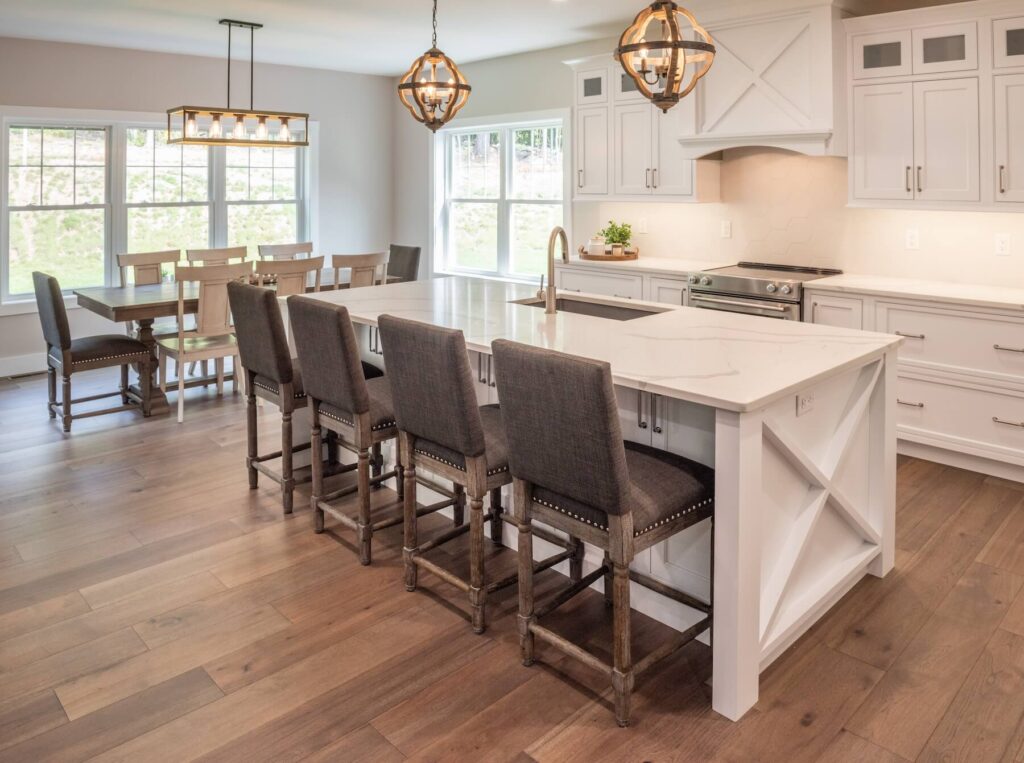
Incorporating Decorative Elements
Consider working with an interior designer to add style and functionality to your kitchen with thoughtful features like backsplashes, a kitchen island, or unique hardware. These finishing touches make your kitchen truly your own.
Final Inspections
Make sure everything is up to code and meets safety standards. A thorough walkthrough with your contractor ensures that the work aligns with your initial goals and expectations.
Step 5. Final Cleaning
A detailed cleaning is essential to complete your kitchen remodeling project, removing dust and debris so every element shines. This ensures the space is spotless, functional, and completely move-in-ready.
A Proven Process for Your Dream Kitchen Remodel
With the final cleaning complete, your kitchen remodel is ready to be enjoyed. At Triumph Kitchens & Millwork, our proven process ensures every step of your remodel is handled with care, expertise, and efficiency. This is how we take on kitchen remodels for our clients – turning visions into a reality while making the experience as seamless and stress-free as possible:
- Discover – Find out if we’re the right fit for your project. Access product brochures, explore your options, and enjoy a free initial consultation to get started.
- Design – Collaborate 1-on-1 with a dedicated designer to create your ideal kitchen. Your initial design will be ready within three business days, setting the foundation for a successful project.
- Details – Finalize your selections, confirm measurements, and receive a clear timeline for delivery. We make sure every detail is accounted for, so there are no surprises.
- Deliver – We provide free, professional delivery to your home or job site. With a delivery window of 10-45 business days, we ensure your materials arrive on time.
- Double Back – After completion, we circle back to ensure we’ve exceeded your expectations. We value our clients’ feedback and continuously refine and improve our processes for the future.
Building a home can be tough, but your kitchen doesn’t have to be! Request a free quote with Triumph today and let us guide you through the journey to creating your dream kitchen.